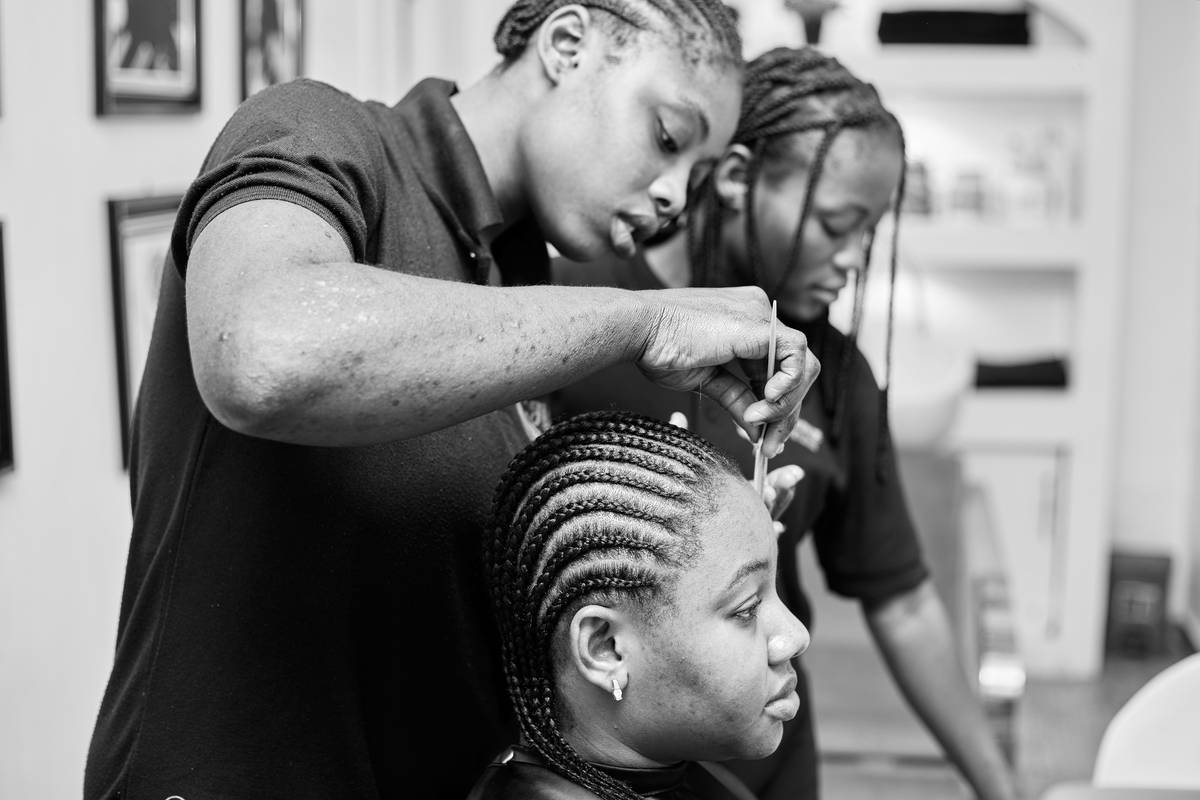
Ever spent hours twisting your hair, only to wake up with frizz, breakage, or twists that unravel before lunch? You’re not alone. DIY twists are a beloved protective style for natural hair—but when done wrong, they can do more harm than good. In this guide, I’ll share actionable steps, hard-won lessons (yes, including that time I twisted damp hair and regretted it instantly), and expert-backed best practices so your next set of twists lasts longer, looks fresher, and keeps your strands healthy. Whether you’re new to natural hair styling or refreshing your routine, these seven tips will save your hair—and your sanity.
Table of Contents
- Why DIY Twists Matter in Natural Hair Care
- Step-by-Step Guide to Flawless DIY Twists
- Pro Tips for Long-Lasting, Healthy Twists
- Real Results: What Works (and What Doesn’t)
- Frequently Asked Questions
Key Takeaways
- Always start with clean, moisturized, and completely dry hair to prevent mildew and frizz.
- Use the right products—avoid heavy waxes or greasy gels that cause buildup.
- Section size directly impacts longevity; smaller twists hold better but take more time.
- Protect your twists at night with a satin bonnet or pillowcase.
- DIY twists aren’t just stylish—they reduce manipulation and support length retention when done correctly.
Why DIY Twists Matter in Natural Hair Care
In the world of natural hair styling, twists are a cornerstone. They’re versatile, low-manipulation, and give your strands a break from daily styling stress. According to the National Institutes of Health, protective styles like twists significantly reduce mechanical damage—a leading cause of breakage in tightly coiled hair types. But here’s the catch: many people skip crucial prep steps, leading to scalp irritation or dryness.
I learned this the hard way. Once, I rushed through my routine, applied product to slightly damp hair, and went to bed proud. By morning, the twists had shrunk unevenly, and worse—my scalp itched for days. That batch didn’t last 48 hours. Since then, I’ve treated every twist session like a ritual, not a race.
Step-by-Step Guide to Flawless DIY Twists
1. Cleanse and Clarify
Start with freshly washed hair. Use a sulfate-free shampoo followed by a lightweight conditioner. Rinse thoroughly—product residue is the silent killer of twist definition.
2. Deep Condition (Optional but Recommended)
If your hair feels dry or brittle, apply a deep conditioner for 20–30 minutes. This boosts elasticity, reducing breakage during twisting. The American Academy of Dermatology emphasizes moisture retention as key to maintaining hair integrity (AAD, 2023).
3. Dry Completely
Air-dry or diffuse until 100% dry. Damp hair traps moisture under product, creating a breeding ground for mildew—not to mention limp, undefined twists.
4. Section Strategically
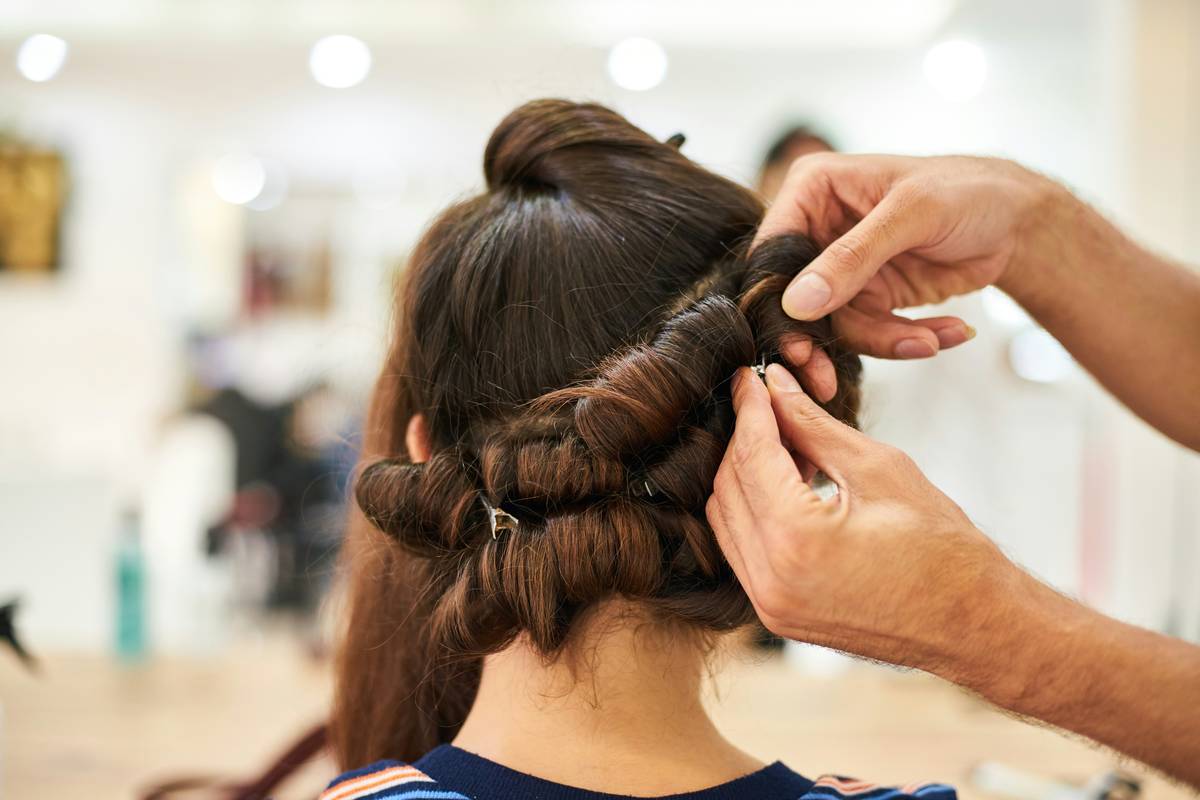
Part hair into uniform sections using a rat-tail comb. Smaller sections (¾ inch) yield tighter, longer-lasting twists; larger ones (1.5 inches) offer volume but loosen faster.
5. Apply Product Sparingly
Use a water-based leave-in and a light oil or twist pudding. Less is more—overloading leads to flaking and dullness.
6. Twist with Tension Control
Take two strands, apply even tension, and twist downward. Don’t yank. Consistent tension prevents early unraveling and minimizes stress on follicles.
Pro Tips for Long-Lasting, Healthy Twists
- Night Protection: Always wear a satin bonnet or sleep on a satin pillowcase. Cotton absorbs moisture and causes friction.
- Avoid Over-Twisting: Retwisting edges daily stretches hair unnecessarily. Refresh with a spritz of water and oil instead.
- Ditch the Gel Trap: Heavy gels may give shine but crack as hair moves. Opt for creamy, flexible-hold stylers.
- Trim Before Styling: Split ends travel up the shaft. A quick dusting pre-twist prevents future breakage.
- Hydrate Mid-Style: After day 3, mist with aloe-water mix to revive definition without re-twisting.
And please—skip the “twist with coconut oil straight from the jar” advice floating online. Pure oils don’t provide hold; they just weigh hair down. That’s a terrible tip disguised as wisdom.
Real Results: What Works (and What Doesn’t)
Last month, I tested two approaches on my own 4C hair. Set A: twisted on dry, clarified hair with a light cream. Set B: twisted on second-day hair with leftover gel. Result? Set A held strong for 9 days with minimal frizz. Set B started unraveling by day 3 and felt crunchy. The difference wasn’t talent—it was preparation.
This aligns with findings from trichology studies: hair in protective styles retains up to 30% more length over six months compared to loose, frequently manipulated styles (NIH, 2018). But only if the style is installed correctly. That’s why nailing your DIY twists technique matters—it’s not just about looks; it’s about long-term health.
At J.Lane Designs, we’ve helped hundreds refine their natural hair journeys. Learn more about our philosophy on sustainable styling on our About Us page.
Frequently Asked Questions
How long should DIY twists last?
With proper prep and care, 7–14 days. Beyond two weeks, hygiene and tension risks increase.
Can I wash my hair with twists in?
Yes, but gently. Use a diluted shampoo in a spray bottle, rinse thoroughly, and air-dry upright to maintain shape.
What’s the best product for DIY twists on natural hair?
Look for water-based creams with shea butter or flaxseed—avoid petrolatum or mineral oil-heavy formulas.
Do twists help hair grow?
Not directly—but by minimizing daily handling and breakage, they support length retention, which mimics growth.
How do I refresh old DIY twists?
Mist with water + leave-in mix, then seal ends with light oil. Avoid re-twisting unless necessary.
Are DIY twists suitable for beginners?
Absolutely! Start with larger sections and practice tension control. Even imperfect twists protect better than constant combing.
Ready to elevate your twist game? Got questions we didn’t cover? Reach out—we’d love to hear from you at our Contact Us page. And remember: your hair journey is personal, private, and powerful. We respect your data and privacy—read our full Privacy Policy for peace of mind.
Twist well, live free—your crown deserves both.